
General Internal Repair Information and Editing
Ticket Relationship
Helpdesk Tickets are your main hub for information relating to repairs. After a repair is added to a Helpdesk ticket, all of the repair details can be found under the Repair Details tab at the top of the page, or by clicking View Full Repair Details from the repair details card
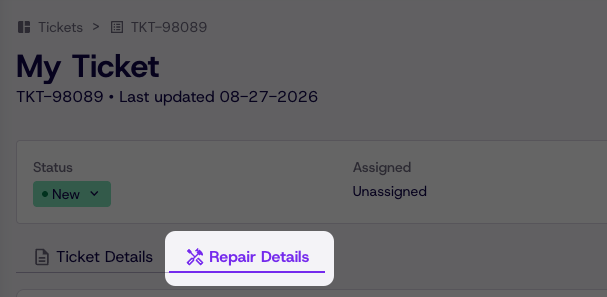
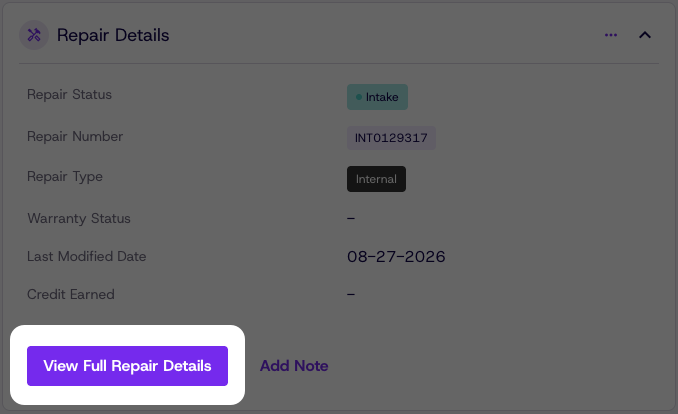
Viewing Ticket Details
Similar to Helpdesk ticket details, Repair Details are broken down into cards to make the information that you need easier to find
- Repair Details: Gives general information about the repair pulled from repair creation
- Shipping Details: If parts require shipping, shipping dates, addresses, and tracking can be found here.
- Ticket Overview: Gives a brief summery of the parent Helpdesk ticket
- Device Details: Information about the device being worked on
- Warranty Coverage: Details any warranties that the device is currently covered under
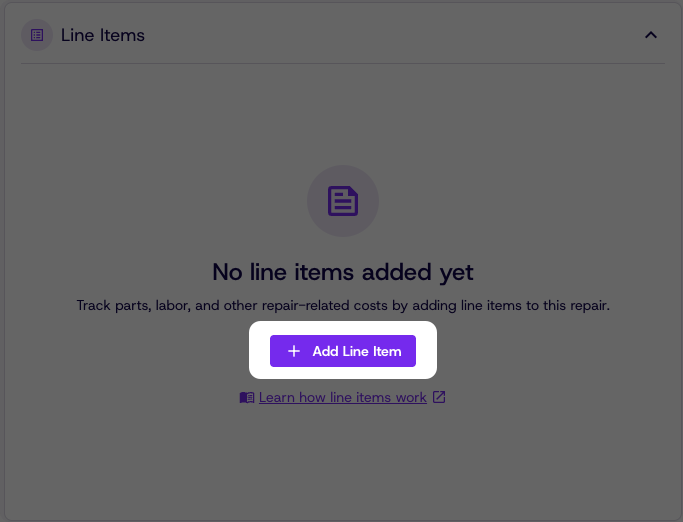
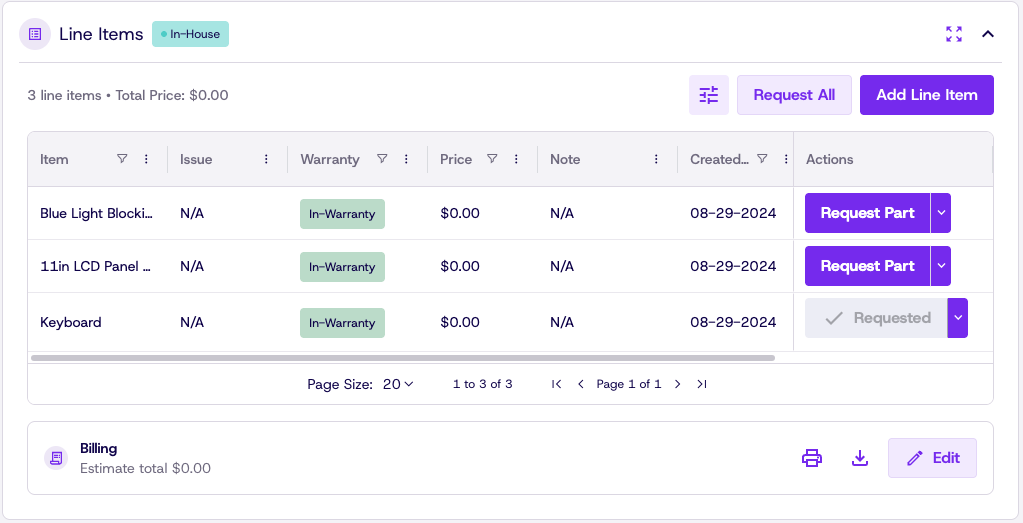
- Line Items: This is where parts will be added to a repair and will be covered next in this guide
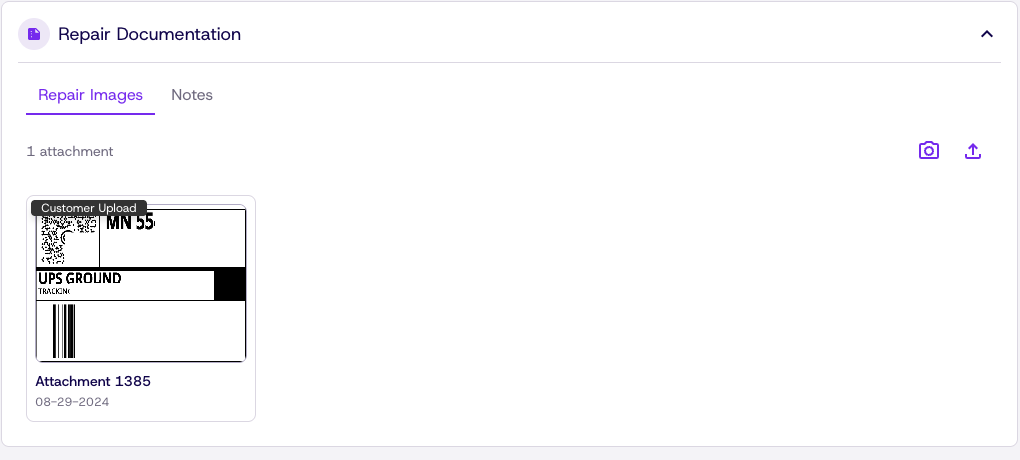
- Repair Documentation: Images, and notes can be viewed and added here
Adding Parts To a Repair
As mentioned before, parts can be added through the line items card.
Steps
- Simply navigate to the card and click Add Line Item. This will open a window where parts and labor can be added.
-
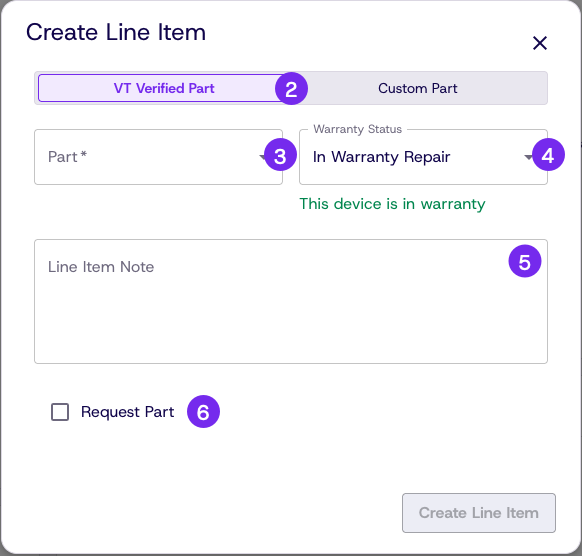
Decide where parts for this repair will be coming from
- To add parts provided to you by Vivacity click VT Verified Part. This will pull from your VMI inventory.
- To add parts that you have sourced yourself, click Custom Part. This will pull from your Parts Closet.
For more information about the Part Closet or Vendor Managed Inventory (VMI), Check out the Assets & Inventory section of our guide
-
Part: A list of compatible parts will be generated automatically
-
Warranty Status: Choose the warranty coverage that the repair will be handled under
-
Line Item Note: This can be blank or include more details on why a part is being requested
-
Request Part: If stock is running low or replacement parts are needed from Vivacity, check the box next to Request Part
-
Click Create Line Item to add the part.
Managing Parts
As parts are added to a repair, the line items card will begin to populate with the requested parts. From here, there are a few actions that you will have access to.
-
Request Part: By clicking request part (or request all) parts on a repair can be requested immediately from Vivacity.
-
Price and Billing: Under the requested parts, a billing section can be found. The total price of all parts added to a ticket can be seen as an estimated total. From here you can print an estimate for this ticket, download the estimate, or click edit to change the prices of added parts and labor.
Adding Photos and Notes to a Repair
Under the card Repair Documentation, Photos can be added by clicking the upload icon, or by clicking to camera icon to take photos with an attached webcam.
Closing a Repair and using repair statuses
A repair has an independent status that can differ from the Helpdesk ticket status. To move a repair to a new status, or to complete the repair. Click the edit icon in the top right and change the repair status. All changes to repair status will require a note to save the changes.
Updated 22 days ago