
Inviting your team to Dream™
Many teams and workflows require multiple users in Dream™ and now it is easier than ever to get your team set up and logged in.
Sending a Dream™ Invite
After getting set up with your Super Admin account you can start inviting your team to Dream™ straight away.
Steps
-
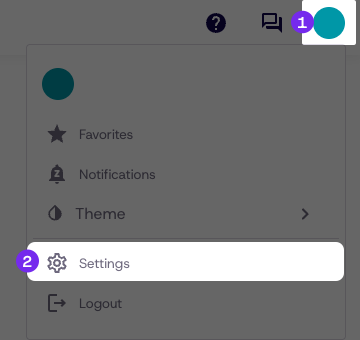
Navigate to the user menu
-
Click Settings.
-
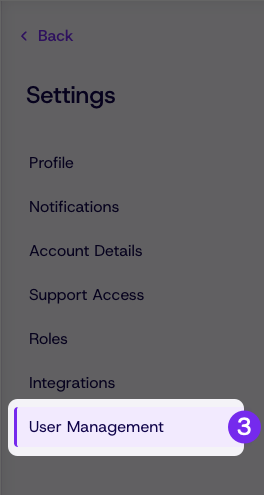
From the settings menu click the User Management tab from the available options.
-
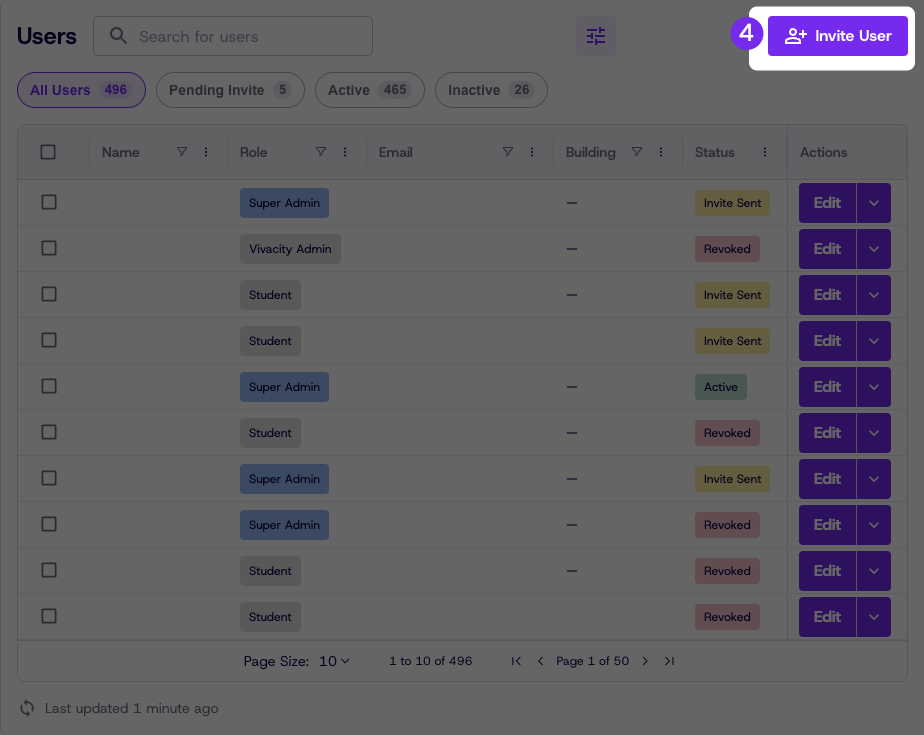
From here click Invite User
-
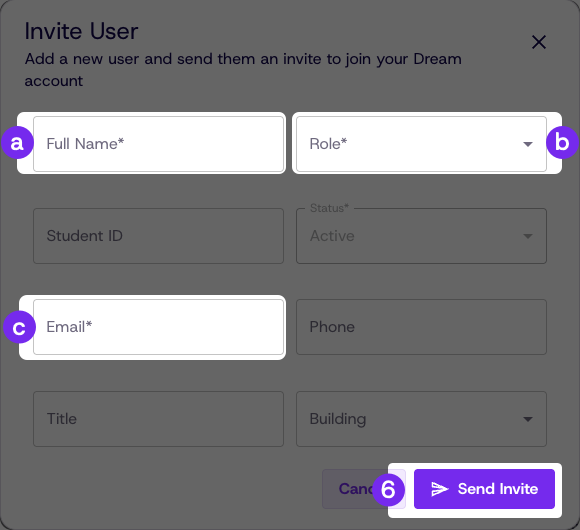
Fill out the required information
- Full Name
- Role
-
Click Send Invite
Sending Bulk Invites
For larger teams, we have you covered with bulk invites.
Steps
-
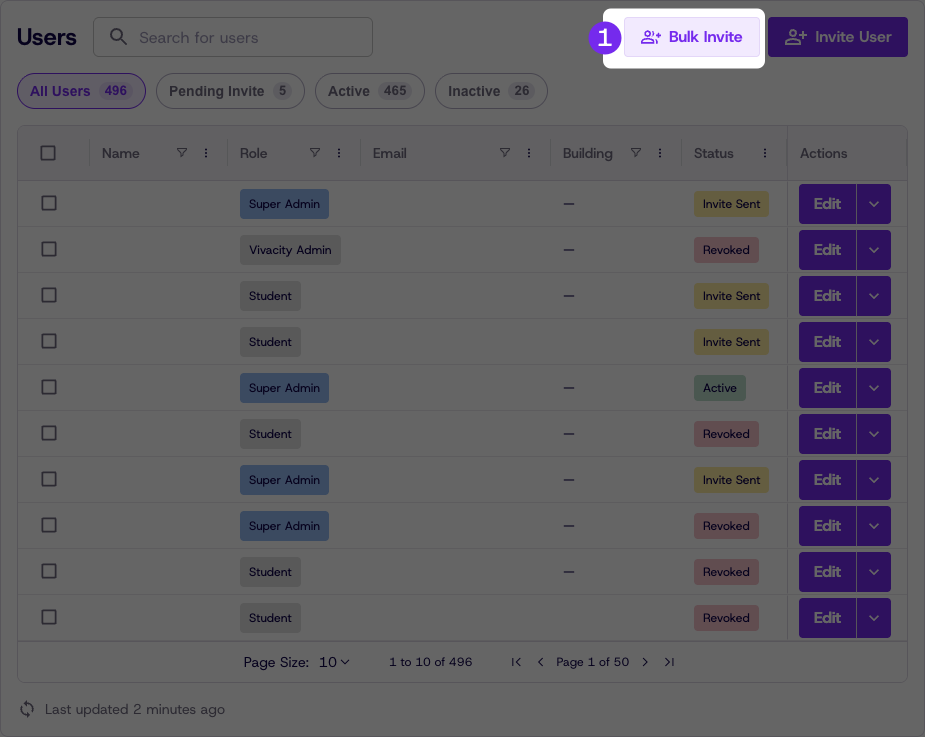
From the User Management tab, click Bulk Invite
-
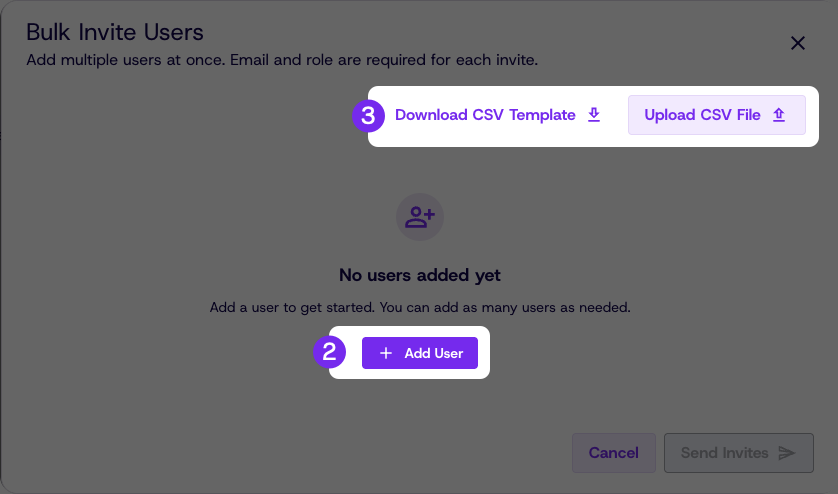
From the popup you can add users by clicking Add User
-
For users who prefer a CSV upload, they can click Download CSV Template
- Click Upload CSV File
- Click Upload CSV File
-
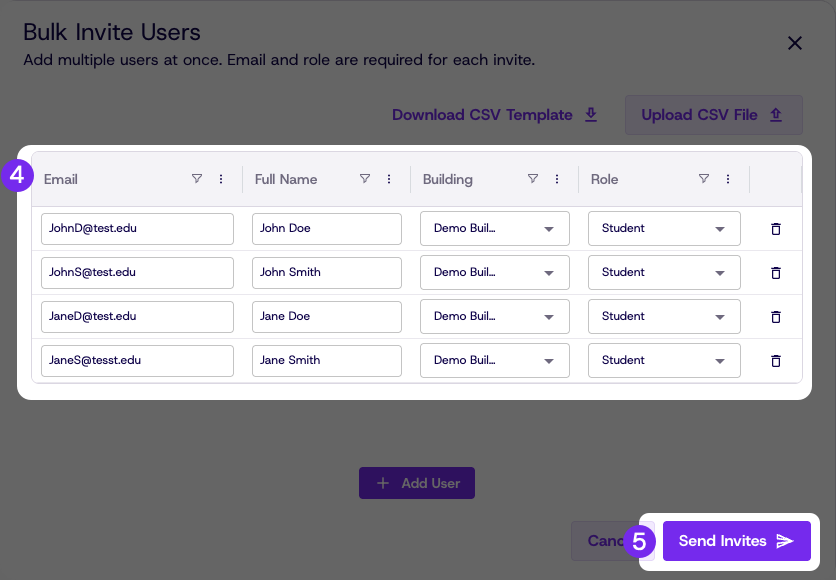
Fill out the required information
-
Click Send Invites
Checking the status of an Invite
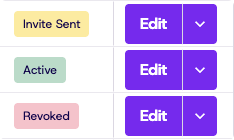
After an invite is sent, the invite will be shown in the invite table with an associated Status.
-
Invite Sent is the initial status for all invites
-
Active status for users who have successfully logged in from the invite
-
Revoked status for invites that have been revoked by an admin through the actions menu. Revoked invites can no longer be used to login to Dream™.
Updated about 1 month ago